NOTE: The THI website does not collect payments for event registrations. If you need to collect payments or gather specific registration details, consider using a platform like EventBrite. You can link your EventBrite registration within your event listing.
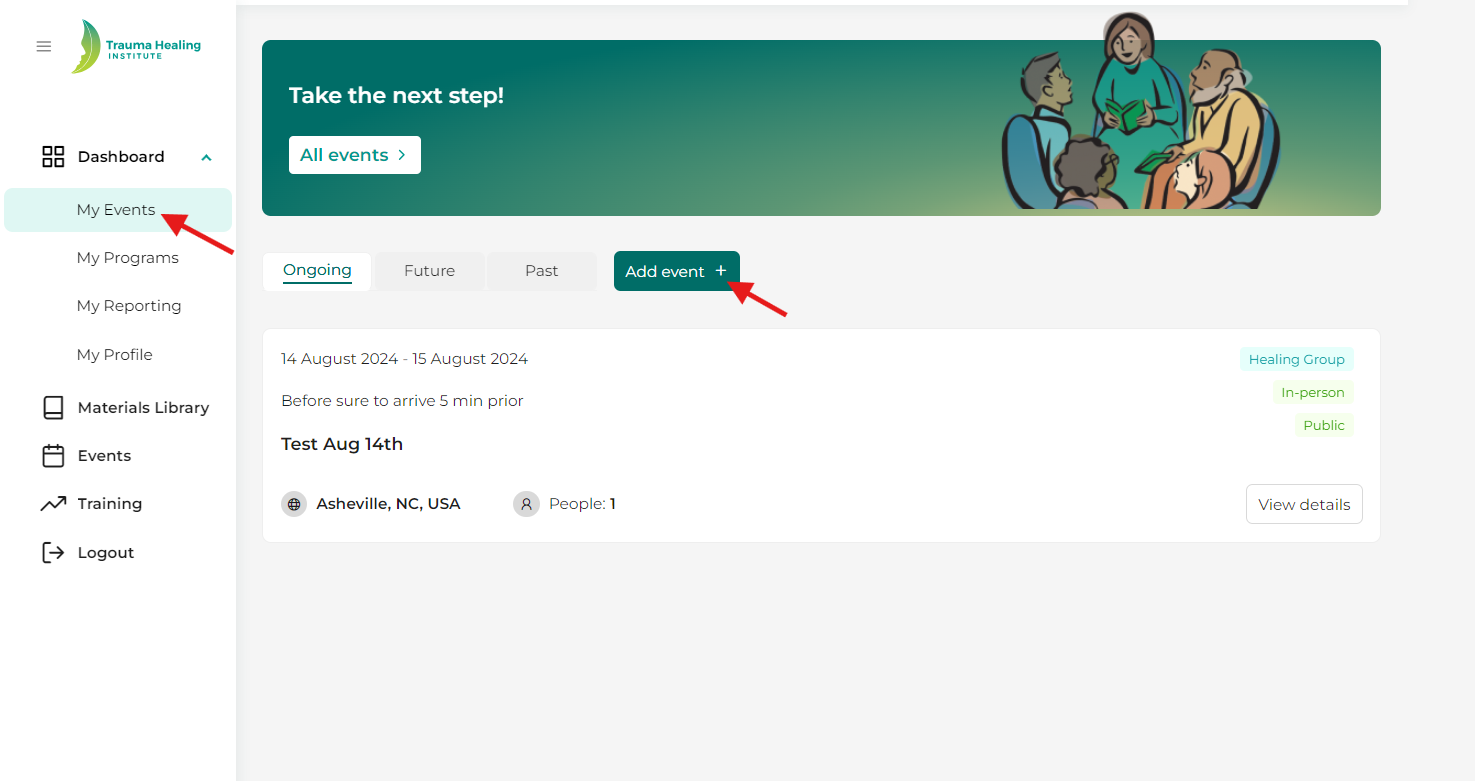
Step 1: From your dashboard, click on “My Events.”
Step 2: Click on the “Add Event” button.
Step 3: Fill in your event details. Please note:
- All fields marked with a red asterisk (*) are required.
- If you encounter any issues filling out the form, check for any highlighted box that may be missing information.
- Private Event: If you select "Private," the event will not be publicly viewable in the general “Events” listing. Only individuals with a direct link to the event will be able to access it.
- Scheduling Notes: Use this box to provide any additional scheduling details or relevant information for attendees.
- Organizations: To add an organization, begin typing the name of the organization and then select it. If the organization you are looking for does not appear, click “can’t find your organization? Create one here.” to add it to the event listing.
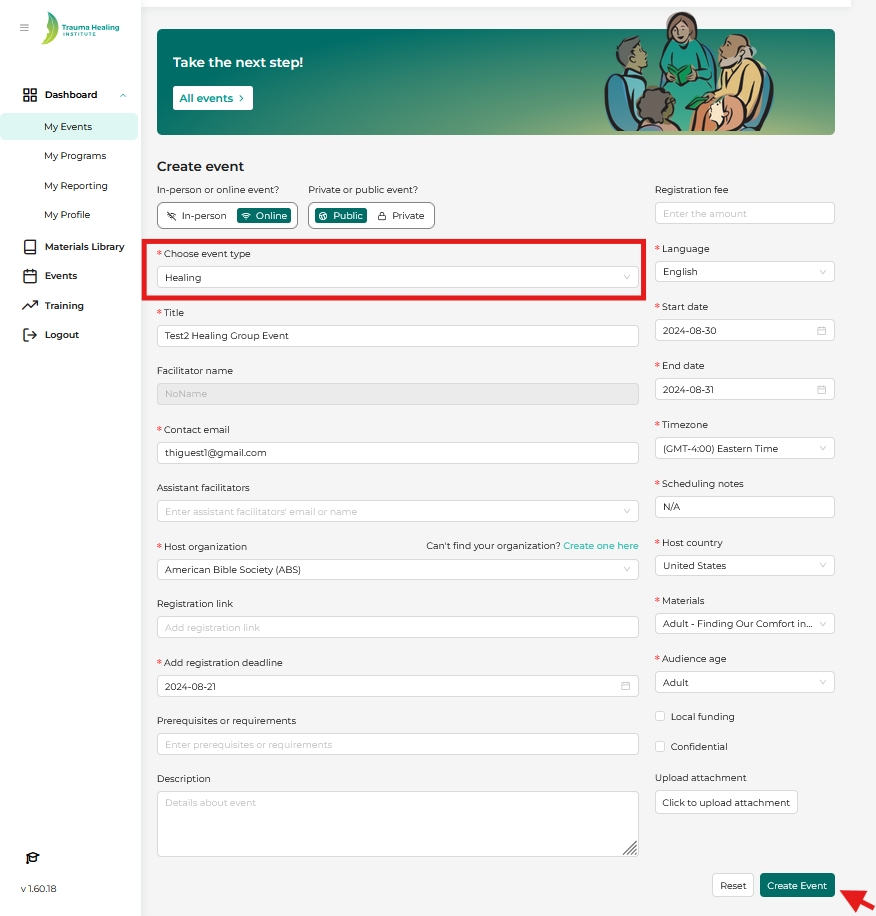
Step 4: Click the “Create Event” button. Your event will then be viewable in your “My Events” section and, if public, will appear under the “Events” tab for others to find.
Step 5: After creating the event, you will receive an email from THI confirming the event was created. The email will say, “An event has just been created on our platform with your email listed as a contact email,” followed by the details of your event.
Step 6: To edit or delete an event, go to your “My Events” section and use the “Edit” and “Delete” buttons located next to each event.